Tuesday, July 22, 2014

My Journey to Restoring a 69 Year Old Overgrown Yard

So I'm officially out of the Army, and we have relocated back to our home state! Washington! (Not D.C. as so many think of when they hear Washington). It's wonderful to be around my pine trees, and the smell of the cold and rain. I've lived here for 20 years before we moved away and began our journey in the Army.

Coming from a Career woman in a veterinary hospital, to a full time homemaker and 2 kids, to a full time soldier with 2 kids and still managed to play the role of the homemaker. Now, as of June 27, 2014, I'm free of all the pressure and responsibilities of other soldiers lives, mission operations, training, and coordinating. I'm back to being mom again. Just mom. Mind you it's only been a month, but the feeling is so enthralling that I'm planting roots for the first time since I left 5 years ago. Literally I'm planting roots.
This is the photo they show you to make you believe how awesome the place is until you get there!

We moved into a 3 bedroom house on 3/4 of an acre. The land was so overgrown that when passerby's walked by our house they would revolt at the sight. Mind you this house was built in 1945, and for being 69 years old, it' wasn't half bad considering the interior remodel. The yard on the other hand was in some dire need of love.

This is where my journey / inspiration began. The bushes in the front yard were so overgrown that when someone walked by the house the bushes would push them off the sidewalk. The grass was so tall and full of weeds that my kids played hide and seek, and could actually hide!

The garden beds were bare and dry, I wasn't even sure if anything would grow, and the tree branches and rocks littered the land. It looked like winter took over and never left. So I began clean it up.

I decided to hedged the bushes first, and as I reached and pulled around the tall bushes, several cars drove by staring. Felt strange having a ton of eyes on you while you're just tending to the yard. I brushed it off at first, and kept trimming away, until I cut through my power cord... .uggg.... replaced it, and not even 10 min later, I cut it again! double ugggg.... (and here I thought I was being careful) I replace it again and look back at my work up to now and wow! I can walk on the sidewalk!

The neighborhood must have noticed because as a lady was driving by me, she yelled out her window, "Hey, it's looking good" while giving me a thumbs up! The chills crept up my spine again, knowing that everyone was watching me. (I'm extremely introverted, if that helps you understand my discomfort). But it did feel nice to know that my "bubble" was going to look great, and apparently I've already got approval from the neighbors.

After 3 hours of hedging maybe 30 feet of bushes, I mowed the lawn. Seems simple enough, just push the mower over the grass right? Nope....

After mowing the "jungle"
I quickly learned that this yard has not been cleared from falling tree debris, or rocks, or anything but grass, ever!!! I determinedly pressed forward and slowly inched my way through all 3/4 acre lot slowly mulching up dry sticks, roots, flinging rocks, 3 feet of grass, and anything else that lay hidden in this disaster. Never in my life had I been afraid to mow before today. I've been to war, I've been to Iraq! I've had Mortars launched and gun fire in my direction on a near daily basis. Felt the explosions of bombs near by. I can brush that off, but pushing a lawn mower through a "jungle of grass" whoa let me tell ya, whoa! I've never wanted to wear eye protection before to mow and I almost even went to extreme measures of even wearing a helmet! (Projectiles of yard shrapnel). But I didn't wear the helmet, or eye protection. I remained risky and determined.
I attempted to keep some patches of wild jungle and surrounded it with broken branches I found in the yard. I found enough branches to create edging around two giant patches of wild brush
5 hours later.......


Ivy Debris after mowing down as much as I could
Canes and Stocks left over after chomping up the berry bushes
Overgrown field next to house, not sure if I can get grass to grow with out tilling up the land
I'm mowing over sticker bushes now.... (aka black berry bushes) Now I realize this is not good for my mowers health, but I was still determined. This was my new home after the Army, and I am the type of person who enjoys having my environment clean, and cared for, it's how my mother, and Army raised me. That your surroundings reflect who you are, so.... I mowed on, and on, and on. until my mower could not chomp up anymore overgrown vegetation. I grabbed the weed whacker and ran into the ivy roots up the trees, and heavy tree branches that had fallen down, and rocks the size of computer chairs (no clue how these got here either, sheesh). By now I was wishing I had a heard of goats and a mighty fence to keep them in that space. When they were done, I would totally borrow some pigs and let them chow down on the roots, but that is not an option for me.

At the end of the day. My yard was in full blown shock. Grass bladed down from 3 feet tall to 2 inches, logs relocated, rocks piled up, ivy plant butchered, black berry bushes chomped up, roots and stocks laid everywhere consuming any and all topsoil that may be present. Everything was yellow, rotting, and very much like a forest floor after a clearing. Day 1 check.... now lets plant, lets grow, lets heal the land.

My attempt to grow something
The next day I purchased some grass seed, some weed and feed, some yard bug killer, some garden fertilizer, and some flowers. I set to work right away on the three garden patches in front of the house. These garden patches lined the front of the house, they looked like a grey cement color, and I felt like I was taking a huge gamble planting anything in there. I took my spike hand tool and whacked at the dirt to loosen the soil. I sifted out as many rocks as I could find and found enough to fill a gap by my sidewalk to the house and bushes by the gate. (A lot of freaking rocks to be in any garden bed). I then stirred into the soil several cups of fertilizer to try and re-nutrition the soil. Then I planted wave petunias in hopes of their survival.
Pool spot was a pain to seed and grow, but once it finally grew, wow!
Next I tended to the grass. As you can see in the photo, the previse tenant had a pool or something in the front yard for a really really really long time. Also they had bricks planted into the soil. Strange, but we fixed it.

I walked the yard with spiked shoes, (you can buy those at any hardware garden store) and then I laid grass seed, and mulch over the bare spot. I then spread weed and feed, and then I spread bug killer. I then watered the yard. Three weeks later we had grass!
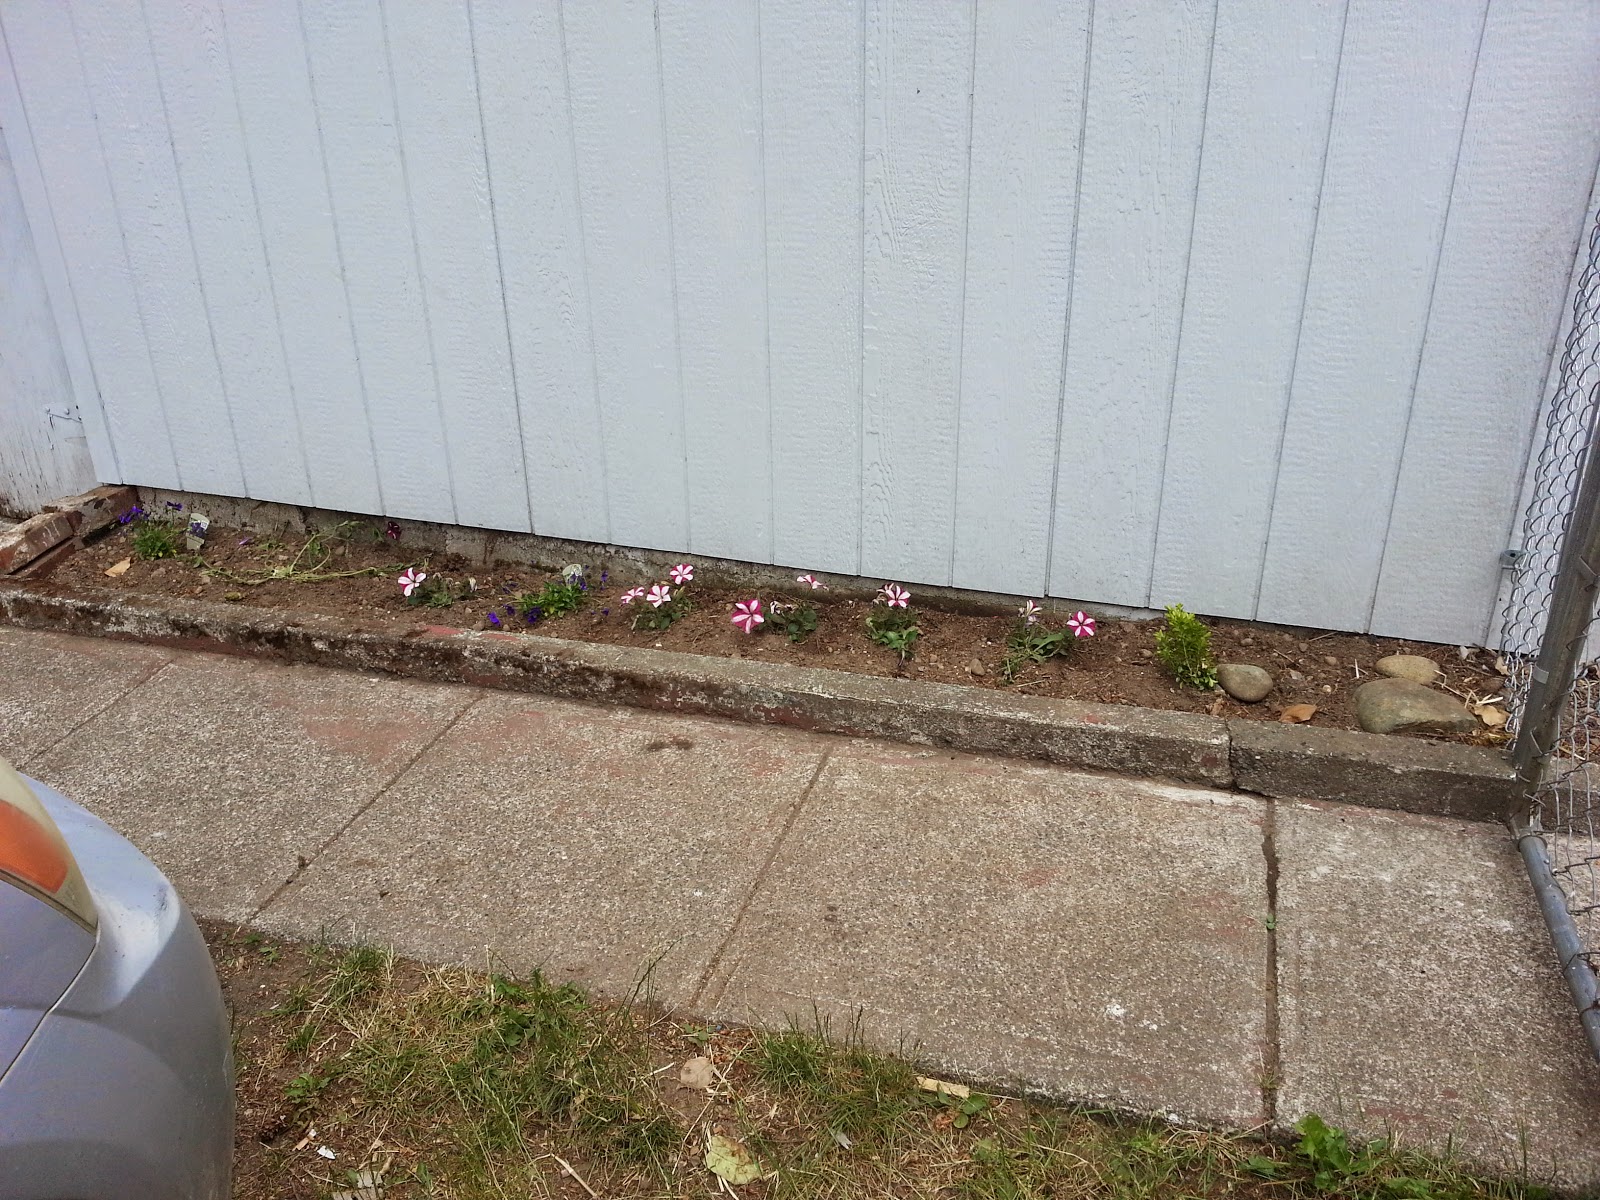
Notice how bare it is, lets add something to grow
Bricks found randomly buried in the yard


Pile of yard waste collected randomly through out the yard
 We dug out the bricks  and lined them up along the bushes near where I threw all the rocks I found in the yard as they projectile across my face from the mower. The grass slowly started to grow, and the brick liner created this image of grass territory and bush territory, was amazing!


 My pile of debris built up. This was just the back yards pile of broken and dead branches. The front yard took 5 loads of a pick up truck to the transfer station.


We then built a few raised vegetable garden.

As you can see we used 2x4's and built a couple boxes. I then contacted a local compost, topsoil, bark company, and purchased 2 1/2 yards of premium soil. (2 1/2 truck loads). Paid about $45 for it, way cheaper than buying it in a bag cause this would have taken somewhere around 400 bags of dirt and usually the dirt in a bag runs about $12 to $20 a bag.

We filled the beds, and I hammered and nailed 12" intervals all the way around each bed. I then used some cotton string and divided up the dirt by 12"x12" squares so I can garden using the square footage method.

Square Foot Gardening
I did a ton of research and found that this website
http://www.smartgardener.com was the most helpful. It's a free website that helps you plan your garden, how much food you need to grow based on your family size and gives you a weekly to-do list. It even has a planner guide so you know how many plants to put in which square. Super helpful!

So began to grow

I this photo you see pumpkins on the ends, and corn in the middle. All started from seeds.


Here in the front is broccoli transplants, and in the very back are strawberries. In the middle you can't see anything yet, but spinach, peas, green beans, squash, carrots, tomatoes, lettuce, and cucumber are growing seedlings.
Baby Strawberry Plants
 Close up of my baby strawberries. Strawberries are year round plants, that dormant in the winter. So far we only have had a few strawberries, but most plants go into shock after transplanting.
Baby Broccoli Sprouts
 Broccoli, Awe they're so little. These guys were transplanted in the middle of June 2014


Monday, September 16, 2013

Tunnel options


                                             New fabric designs for the Small Pet Tunnels


As requested, here are some feminine looking tunnels! I'm now offering them with out the support and with support depending on the buyer.

Update: I'm working on making cage liners for store bought cages, and custom liner requests are accepted too! Pass on the word!

Sunday, September 15, 2013

Paper hats

So, the weekend is ours. Joe went out riding his dirt bike with grandpa, and Jadenn, Ashlyn, and I took iver the house again! Mooohahah.

We cleaned house and made paper hats, flowers, and hearts. Jadwnn was so excited that she looked up on utube how to make everything!  My 6 year old is so creative.

Saturday, July 20, 2013

Beginners Cooking Advice


Here is a list of some cooking supplies that I highly recommend. The links I've attached to the list below is only for reference purposes. You will need to pick out what you like and whatever matches your needs and preferences. Some of these items are nice, but costly, while others there are better brands available. Again they are just for examples.

·         This Quick and Healthy Recipe book and her other volumes.

·         Standard pot set (Something like this set)

o   Skillet pan with a lid

o   Sauce pan (Recommend at least 2 of different sizes, but as you cook you can get more as you need them)

 
o   Tall pot for pastas, stews, and large quantities of food

·         9 x 13 Baking dish Glass

·         8x8 Baking dish Glass

·         Colander / Strainer

·         Mixing bowls - at least 2 different sizes (Adjust as necessary and get what you need)

·         Microwave bowls - few different sizes

·         Wooden spoons - at least 4

·         Wire Whisk

·         Turner x 2 and different styles

·         Cutting Board (At least a Medium)

·         Set of Kitchen knives

·         Can opener (I like one of each kind, so I can strain the juice or keep the caps for storage for another day (Outside open, Inside Open), but get what you works for you)

·         Cookie Sheet

·         Crock pot

·         Everything else you pick up is optional to help you out in the kitchen.

o   Spoon rest

o   Storage place/container for your spoons/pots/pans, etc

o   Other cookbooks

o   Food Storage containers

o   Anything else you feel like that can help you out. ( I like the idea less is better, I don’t like clutter)


Ok, so first I want to point out that cookbooks are a very important part to cooking when you’re starting out. When my husband and I were just 17 years old and just trying to make it, we frequently would just eat the freeze and heat meals, even the pre packed meals in a box and a whole lot of cereal. Not the best of diet, but when you’re starting out, it worked. Years later, when we were 23 ish~ years old and we just had our kids, we put on a ton of weight. We quickly realized that our habits were not the best and with the economy falling apart, our budget was limited. So we began our research of how to improve. I found this book (Quick and Healthy Recipes V. 1) online and decided to give it a try. It had a grocery shopping list, and a menu already made up for us! We just turned the page to the recipe and cooked each night! Saved us so much time on trying to figure out where to begin with this cooking stuff. Some recipes we didn’t like, and many we did. It showed us what was out there. What we were missing out on in a sense. So I now recommend this book to anyone who was stuck in that same rut we were when we were kids. I have volume 2 now and when we are bored with those recipes, I’ll pick up volume 3.

That cookbook is not the only one of that kind out there, and I encourage you to seek other recipes and ideas! This way you do not get bored. I just like her teaching techniques so I could build new habits for cooking. This will help you develop good habits yourself too.

When you plan your meals, look at all the recipes and scrounge through your cupboards.  You might have those ingredients already. (I randomly pick out the recipes I want to try from the books, in case there were some my family didn’t like). Then compile your grocery list. Plan the day before, in case your menu has something that needs to be thawed out or may be a crock pot recipe.

When it’s time to put on the “apron” (figuratively speaking, unless you really want to wear an apron) pull out your cookbook and all the ingredients listed in the recipe(s). Pull out the pots and pans and baking dishes required by the recipe. Heat the oven or the burner or both.

Now follow your recipe cooking directions and not just your recipe ingredient list. My father-in-law tends to just put all the ingredients in one pot and calls it good. (And he wonders why he doesn’t cook well). Most good recipes, if they are written write, will tell you what to do with your ingredients. Some things you add at the end, where no heat is required, while others you have to cook separate before you mix it together.

Now I realize all of this seems like a lot, but once you begin the whole cooking ordeal and practice a few times, it will become easier and easier. Now you have an idea of where to begin, get in the kitchen and make yourself, or someone honest about your cooking something amazing! When you feel ready to really test your cooking, Making something for a child, they are usually very picky and honest if it’s good or not J .  Happy Cooking and good luck!

Summer Projects


So the kids are out of school, mom is on leave, dad's at work, and grandpa is playing on the internet! Kids are bouncing off the walls. Mom is cooking, cleaning, bouncing marbles around in her head and inventing new ideas to preoccupy this nest.

I got it! Lets make doll clothes! We found some left over fabric in my sewing box. Girls picked out which dolls they want clothes for and what kind of fabric they wanted to see. I asked them what kind of clothing they wanted and they said dresses! So guess what, They got dresses.

My two little helpers (5 and 6 years old) were following me around as I gathered old doll clothes for patterns, ironing the fabric and measuring my cut patterns. I used the same fabric that I used to make their dresses. So when they want to dress up. Their dolls will match them too! (Kids love that kind of thing)

These two dresses took me about 8 hours to make between the cooking and cleaning, but will last my kids for years!

 _________________________________________________________________________________
 
 
Next on our agenda...
 
Kids got to paint bird houses.
 
I found these bird houses on sale at Wal-Mart for $1 and change each. What a bargain for my little busy bodies! So I bought some paint (One wanted purple, one wanted pink, naturally, lol) for just over a $1 and some change each. Tada instant project for the kids to do for less than $5.
 
I admit the decorations cost $10 at Ben Franklins Crafts but that required hot glue, which my little ones are quite old enough to try yet. (Waiting for their elementary school class to help them master Elmer's glue first) 
 
But none the less this was entertaining to the kids, and they now have a new decoration that they "made" in their rooms


We had to let the houses dry before we could decorate them.
 
End results...
 
Jadenn's creation
 

Ashlyn's Creation (Below)


 _________________________________________________________________________________
 
Ok.... What to do now...
 
 
Ashlyn: Mom? I don't want bunk beds anymore
Mom: Uhhhhh...... okay :)
 
Tada! It's a good thing my husband built their bunk beds. He designed them so that we could separate their beds when we wanted to, or stack them when we need the space!


Their room before these photos was very plain. I have to admit I was not very proactive about redecorating their room until now. Mostly because I was gone in Iraq for some time when we moved here. But I'm home now and darn it we are going to make an adorable little girls room.


I bought the flower wall paper stickers at Target for $10 (Score!) Then while I was at Ben Franklin crafts picking up the birds for the bird houses, I saw they were having a %50 sale on Spring items! (Double Score) So I bought the girls some hanging Butterflies for their ceilings! We are going to spring in this room!

So far we decorated it with spring flowers and hung the butterflies. I'm waiting to pick up these adorable Curtains off Amazon to drape above their bed. To give a canopy effect.

 
Then since we are moving back to Washington next year, I'm going to get some energy efficient curtains and hang over their window. We live in Hawaii so blocking the cold is not the problem, but blocking the sun and heat. (Trust me the power bill for the A/C is just as bad as the power bill for the Heater).

So when that project is complete! I'll show you the updates! Comments and other ideas to share for their room would be amazing!